There is a response that black can use against white’s queen’s gambit. The result is that black can take white’s queen if they make two critical mistakes,
I have pictures of the most common sequence of moves here. I will explain the ideas behind the Albin Counter Gambit and why it can be used to turn the tables against white and destroy their queen. They can of course avoid the trap in a few ways, but this opening is psychologically very tricky.
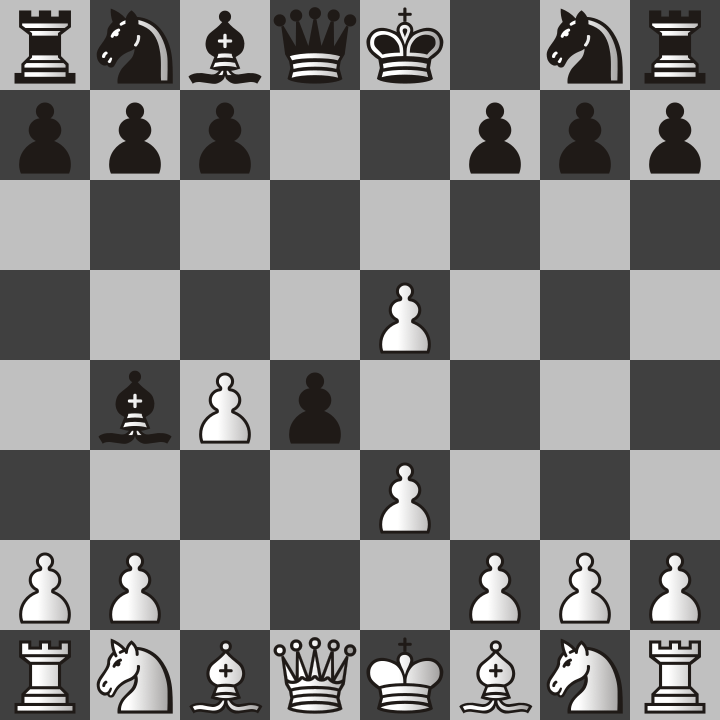
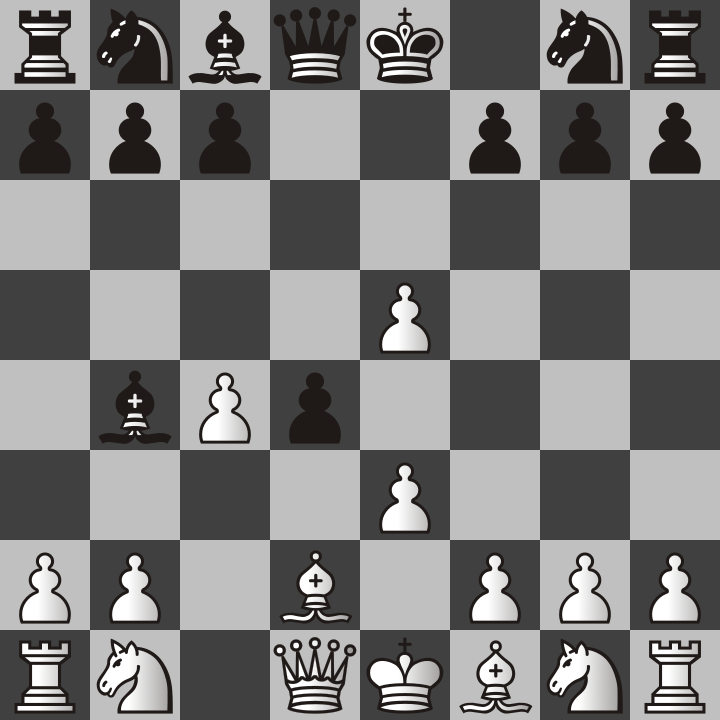
First, we are in the Queen’s Gambit position. White offers a free pawn on c4 to tempt black into taking it. I have previously covered why you should not accept the gambit pawn. Those who are playing black can use the following tricks.

Instead of taking the pawn, or using the common declines of moving a pawn to e6 or c6, black instead moves their king’s pawn two squares to e5. This is a counter gambit because now white will think “Yay, a free pawn!”. Usually they will take it without question.

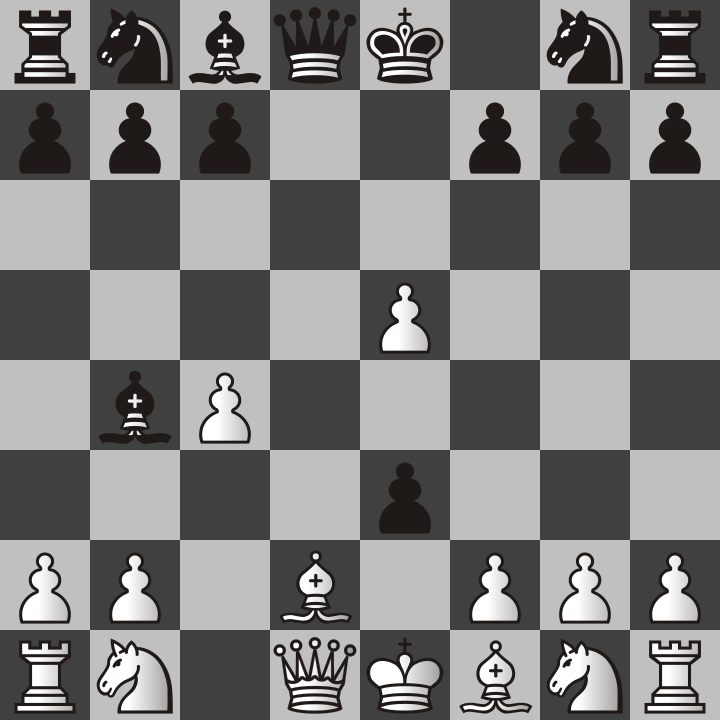
White takes the pawn. There is no reason not to because it really is a good move. However, white will be overconfident at this point, thinking they are playing someone who doesn’t know what they are doing.

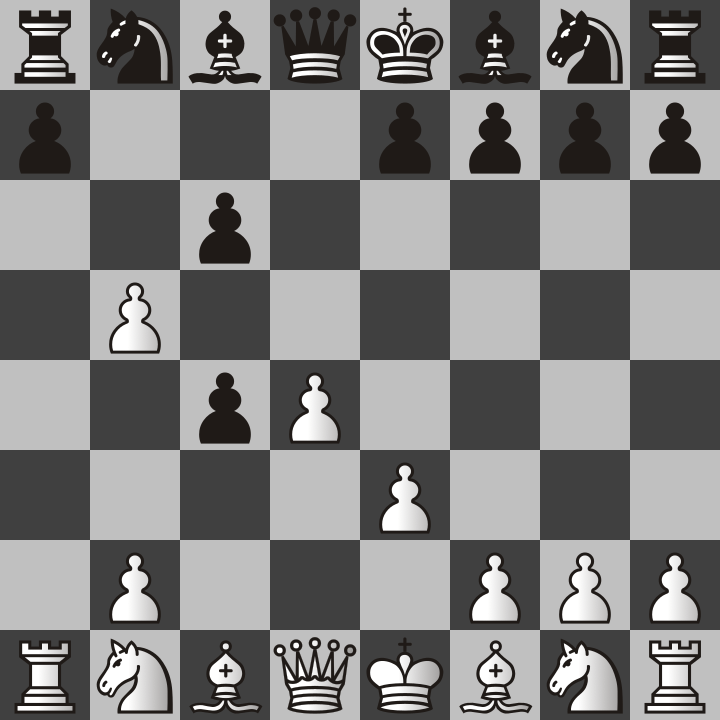
Black moves the d5 pawn one square forward to d4 where white’s pawn was before. This doesn’t look like a problem except that it means white cannot move their knight to c3 or the pawn will take it.

White will probably try to advance their king’s pawn to e3 with the idea of trading queens if the black pawn captures it.

Black now moves the bishop to b4 and puts the king in check. White has 4 options here, not a single one of which is any good. Either they move the king out of the way to e2 and block their bishop, or they put their knight, bishop, or queen in the way on d2 to block the check.
Not wanting to sacrifice a knight, white sacrifices the bishop on d2.
But black never intended to capture anything with the bishop. They check was just a distraction from the d4 pawn which now takes the e3 pawn. Now it attacks the bishop and pawn. Also, the white bishop on d2 is not able to capture that pawn because then the king will be in check again.
The white bishop simply takes the black bishop and thinks they are winning the game already.

But then the black pawn captures the f2 pawn and the king is in check. There are two legal moves here, both of which are losing for white. Either they move the king to e2 and let the pawn kill their knight, or they take the pawn, which seems like the logical option.

The white king takes the pawn and yet fails to notice that nothing is defending their queen.

Black queen takes white queen because when the white bishop moved out of the way, they had no obstacles between them.

At this point, white usually resigns after losing their queen. There really are no good moves for white in this position and the black queen can keep putting the white king in check while taking all their pieces. This is why the Albin Counter Gambit is so dangerous to a Queen’s Gambit player like me. Don’t fall for this trap as I once did!
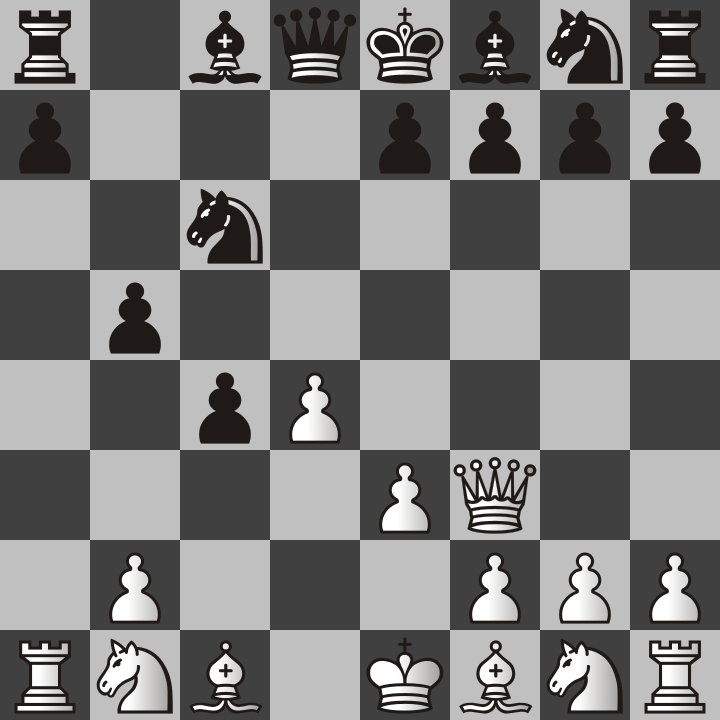
But you may wonder, can the Queen be protected if the white king moves to e3 instead of taking the pawn on f2?

No, because remember that the pawn can promote to any piece, including a knight when it promotes. This puts the king in check.

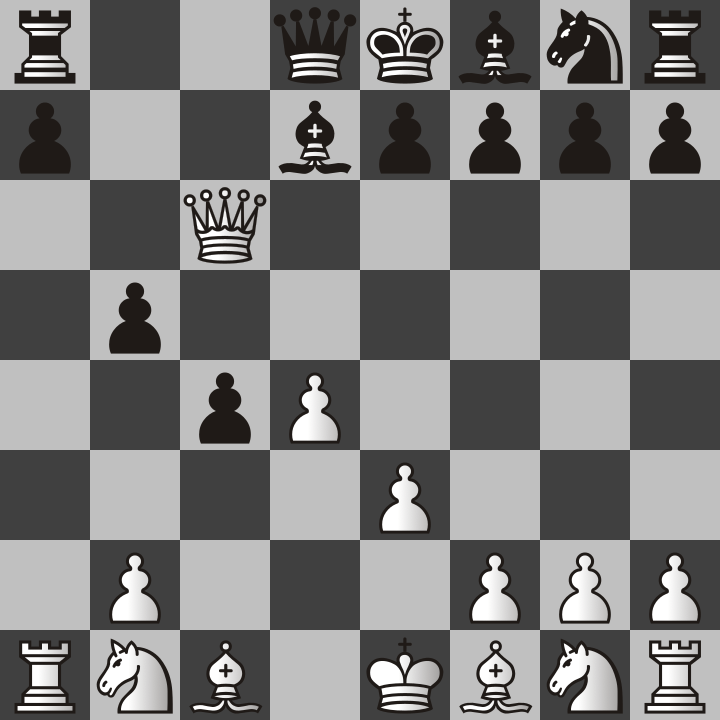
Of course, the rook can take this black knight, but that will not help the situation at all.

The true purpose of taking that knight was to remove the final defender of the king from a bishop on b4 check.

As you can see, there is no way to protect the queen. As soon as the king moves to one of the 3 legal squares, the white queen will be captured by either the black bishop or queen.
The Albin Counter Gambit doesn’t always go this way, but it certainly can. This is why it is a perfectly valid response to the Queen’s Gambit.